

Case Study
How to Build a 16-Foot Long Credenza
Lutz Furniture was commissioned by designer, Tim Warlick to collaborate on the construction of a unique, 16-foot long credenza for a house being built out in the Hamptons. Tim is a wealth of knowledge about furniture. His designs are built to such exacting standards that I knew every detail was carefully considered. It was an exciting opportunity to collaborate on a truly stunning statement piece.

Concept/Drawing/Mockup phase
The client originally specified a curved front that resembled waves. Based on a concept sketch provided by Tim I produced a technical drawing and then a full-scale mock-up. This enabled the client to visualize the final product. The design was eventually refined to be a straight front in order to accommodate enough place-settings for 40 people.

Veneer for days
The credenza was part of a project that included a 20-foot dining table with book-matched Walnut veneer. Extra thick veneer was purchased from the same log to insure a sequential match across the shelves and cabinet interior. Here’s Tim making some decisions about veneer selection, kinda reminds me a a tailor cutting out patterns.

Processing lumber
Boards for the project were hand-selected, focusing on finding the straightest grain for the tambours and hardwood edging.

Joinery & jigs
Since we knew the credenza was going to need to hold a lot of weight, we opted for tongue and groove construction, re-enforced with screws. Jigs were built to rout the tracks for the tambours to slide on, as well as the grooves for the joinery

Fitting and layout
Careful layout is essential on such a large cabinet with lots of interlocking parts and tight tolerances.

Assembly
The moment of truth comes when everything is dry-fitted. The credenza was staged in the shop for a progress visit from the client.

Stout frames for a wall hung cabinet
A series of hardwood frames formed the back of the credenza. The frames were spaced apart allowing gaps to insert the tambours. Cleats were incorporated into the frames for mounting the cabinet on the wall.

Beefy bridle joints
We calculated that the weight of the credenza plus dishes for 40 place-settings could be as high as 1,000 pounds! For this reason, we opted to construct the frames with bridle joints for maximum strength.

Glue-up
Bridle joints have crazy amounts of glue-surface area, resulting in bomb-proof frames.
Curved interior corners
In order to maximize internal storage and still allow clearance for the tracks for the tambours to pass around the back of the case, the interior walls of the credenza were made from curved solid walnut.

Tricky glue-ups
Curved corners make for tricky glue-ups. Using removable glue blocks ensured good clamping pressure. After assembly the glue blocks were removed and the backs of the curved corners were shaped.

Ready for fitting
Vertical sides awaiting final shaping and assembly.

The key to smooth tambours
We wanted to prevent the tambours from binding when turning the corner when the doors are opened yet not be so loose in the straight sections as to rattle. This required some experimenting and research.

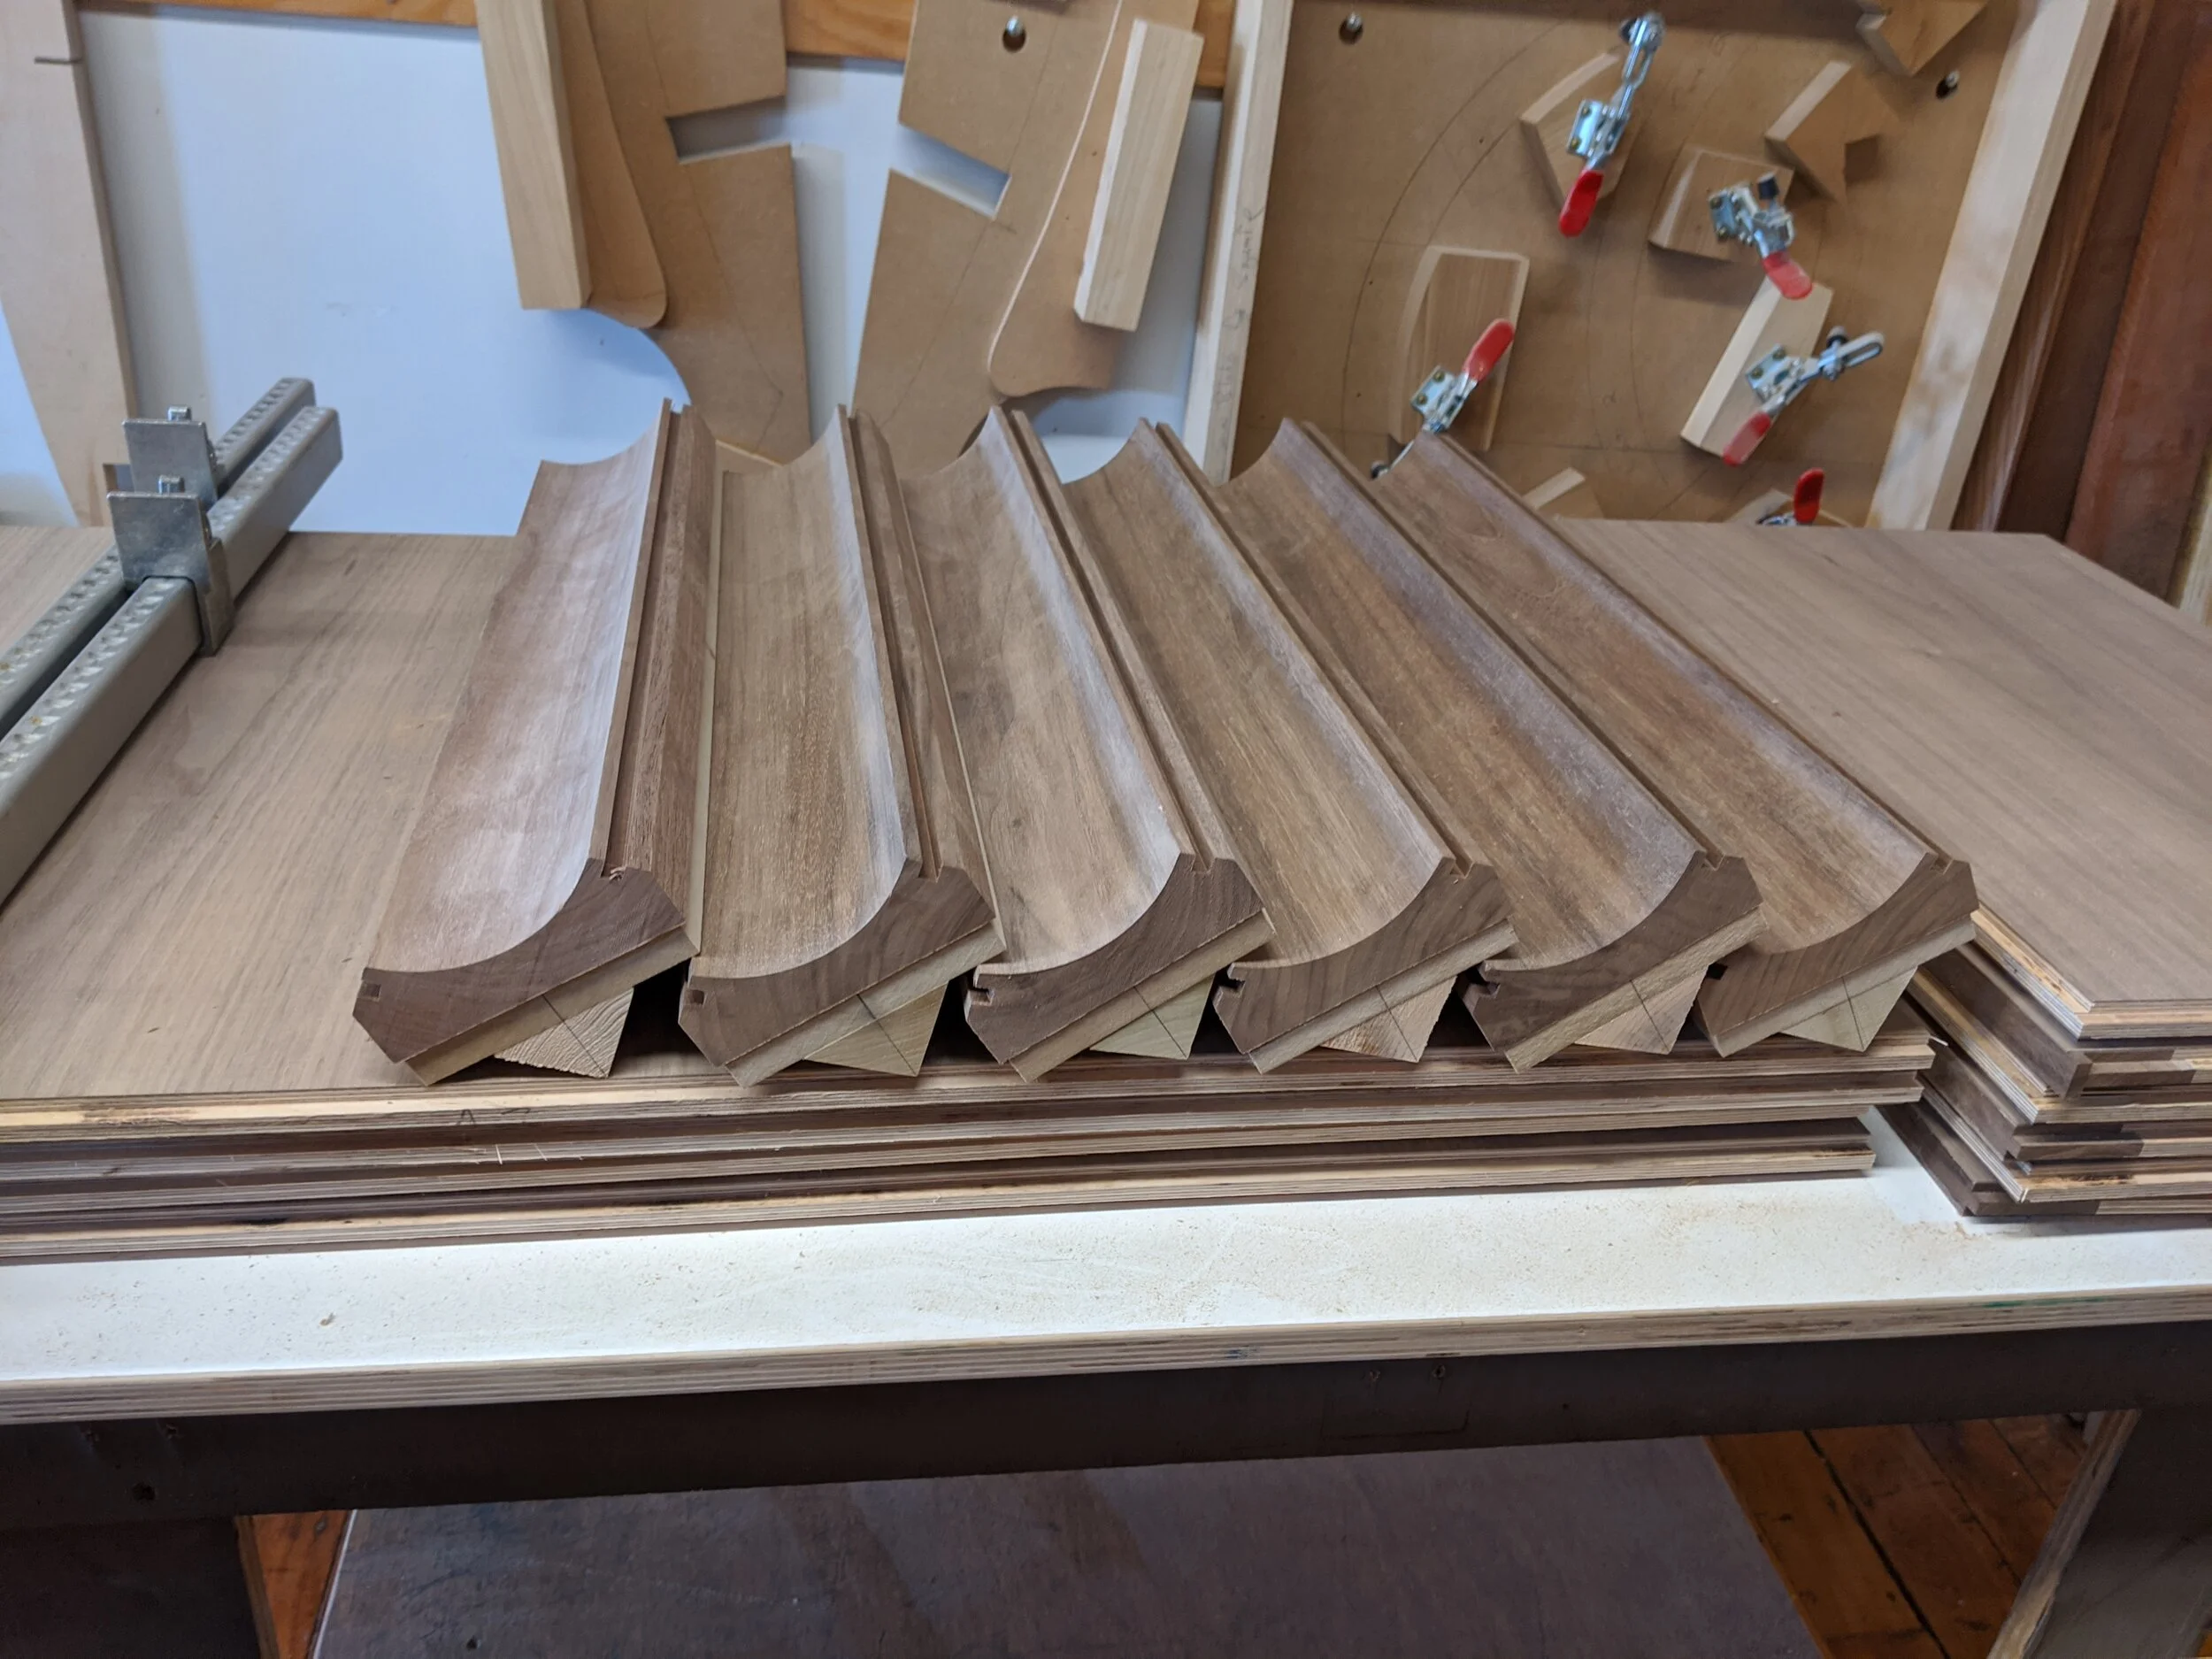
Tambour production
The stock for the tambours being milled and processed.

Jig for streamlined production
I created a special jig to streamline the production of around 400 tambour tenons down to just a few hours.

Designing custom pulls
Tim specified a really elegant design for the pulls. Nothing beats a custom piece of hardware, in this case made from wood to match the tambours. Here I’m holding up a prototype in poplar to check the proportions against the tambours.

Sculpted details
Intersecting curves can really add a lot of sophistication to the shape.

False fronts create a seamless look
Fixed tambour panels were add to conceal the gaps between the tracks as they turn into the sides of the cabinet.

Final touches
Once the casework was done, I handed things off to Tim for finishing touches.

White oak top finishes out the design
Tim managed to source 16 foot long white oak boards to construct a continuous grain, solid wood counter top that is attached separately. This hides the fact that the case is actually constructed in two pieces. Once it’s mounted on the wall, no one will ever know.

Ready for delivery
In person delivery is the preferred option. When that’s not possible we have our guy, Tony pick it up and hand deliver it to the finisher.